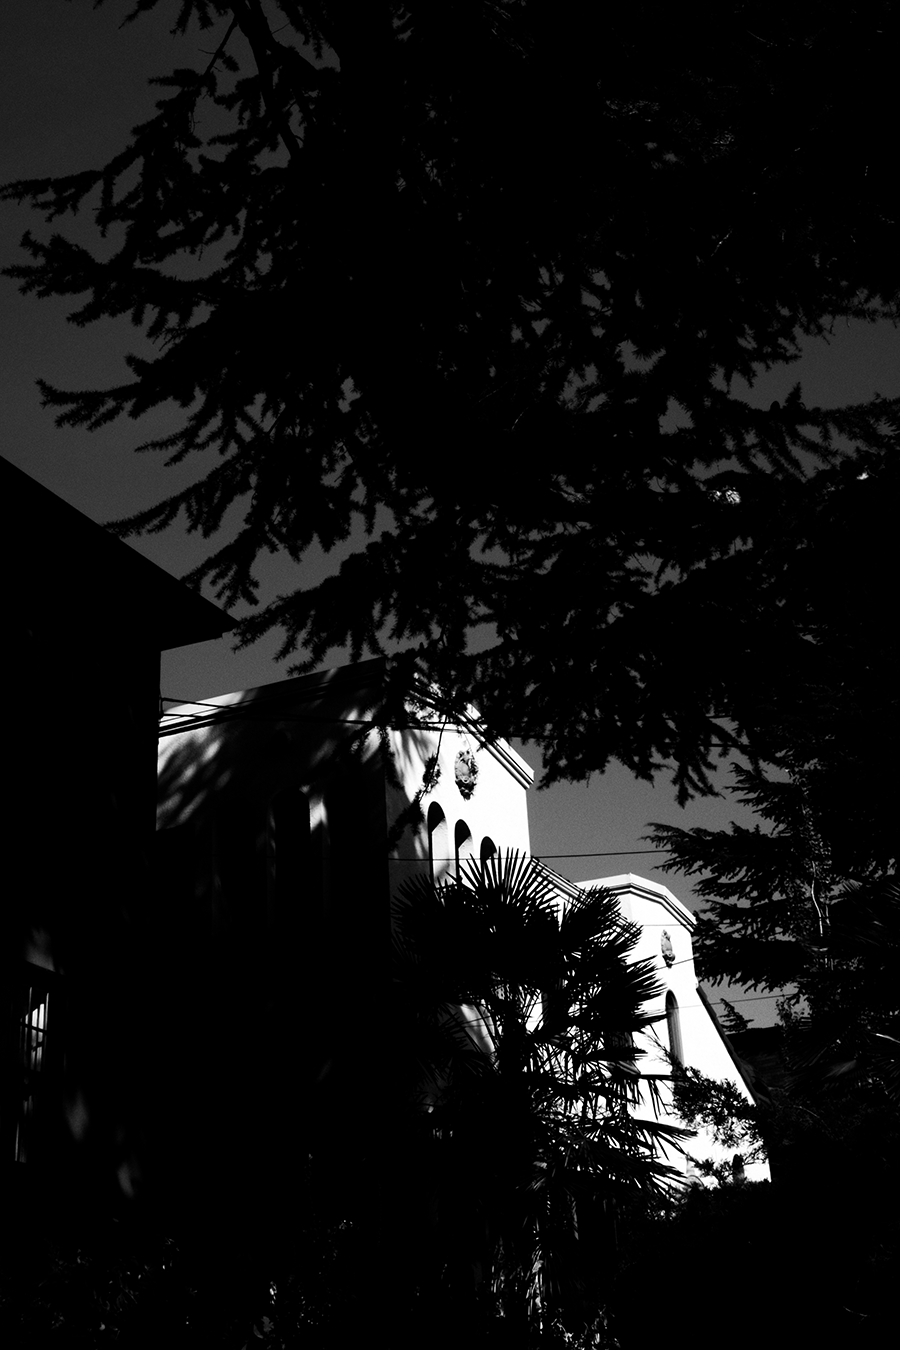
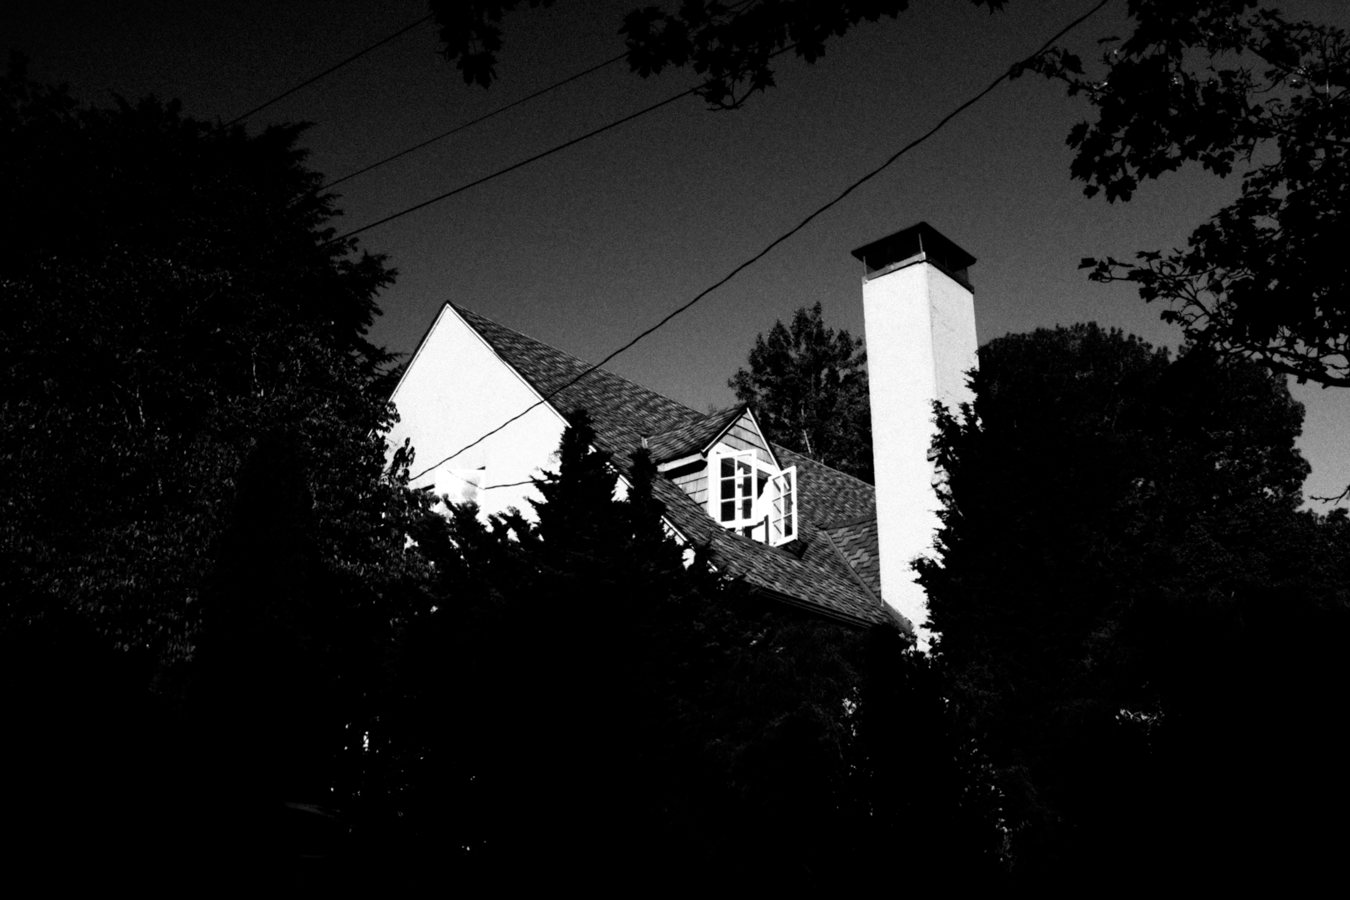
Some recent digital photos, taken in Portland.
Digital Photos, Fall 2020
in Photos
digital
Some recent digital photos, taken in Portland.
Here’s a summary of my process for a recent drawing, which I’m calling “Caught in the Rain”. This is one of several drawings featuring this old man and his black cat.
I wanted to draw these characters again, and I also wanted to draw some rain. After coming up with the idea, I started with a quick thumbnail sketch (fig. 1) to make sure I liked the layout (when I draw I use Xs to indicate which areas will be filled with black).
Next I made a grayscale ink drawing on watercolor paper (fig. 2). I drew the outlines with a micron pen, then added gray tones with a series of washes of diluted black ink. After that, I added black with a brush and ink, and drew the rain with gel pens and a ruler.
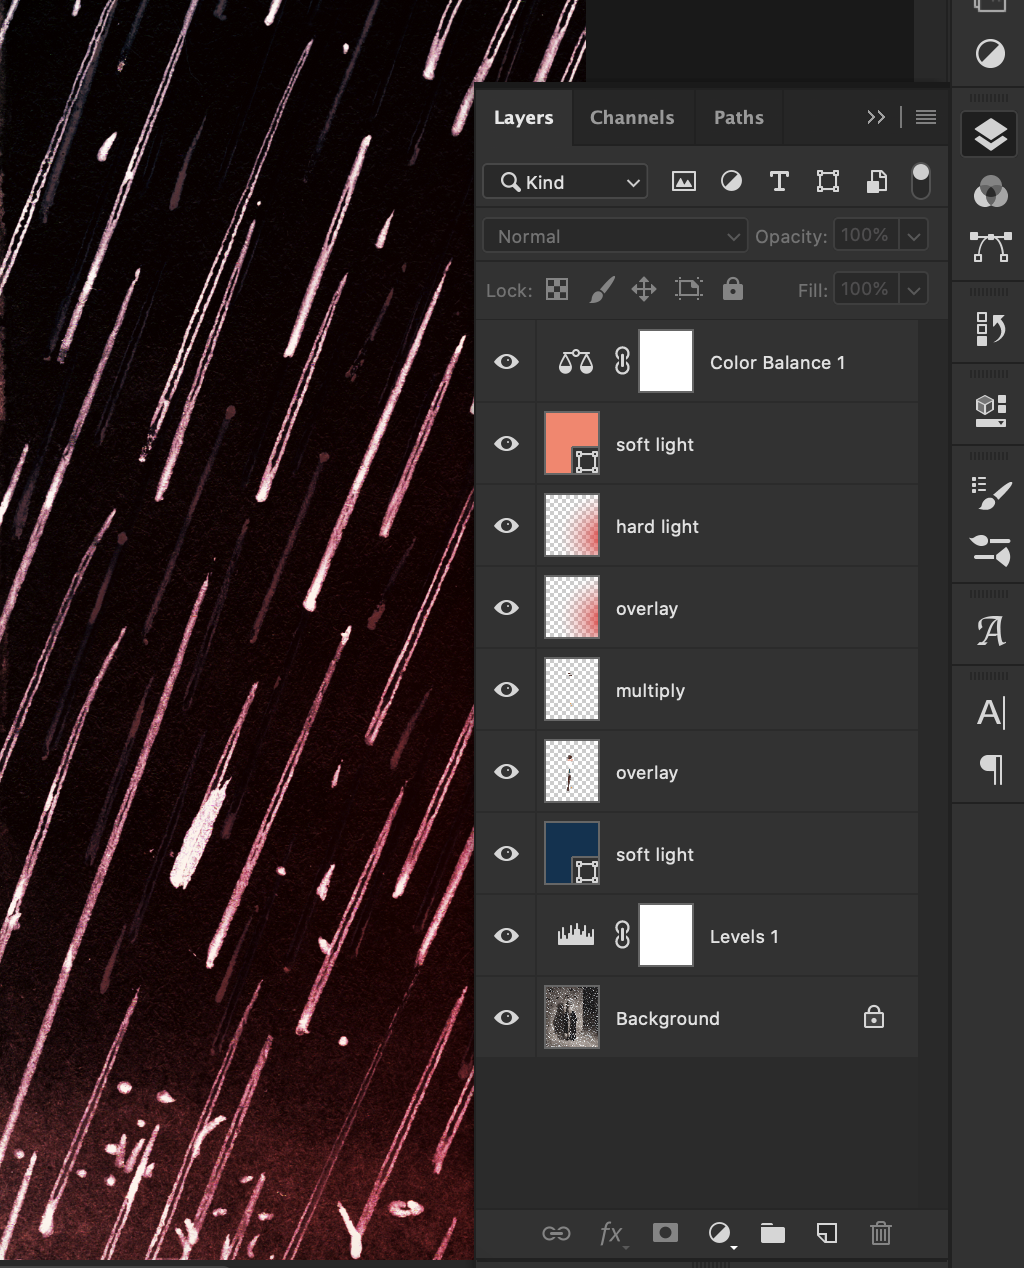
Once the grayscale drawing was done, I scanned it and opened it in Photoshop (fig. 3). In Photoshop, I adjusted the black/white/gray levels to make sure the contrast looked good and had pure black and white. Then I added color with layers set to different modes (fig. 3). Overlay & Soft/Hard Light modes tint the original ink drawing below, while Multiply adds a translucent spot of color.
After this, I adjusted the color balance and saturation to make the colors look how I wanted them to. Adjusting the color balance is also a great way to unify the color palette. I use adjustment layers when I can because they give me flexibility to change things later, as they don’t edit the original drawing in a permanent way.
Anyway, then I saved the finished drawing (fig. 4) and later posted it to social media. Now I’m blogging about the process and you’re reading it. And hopefully you found this interesting or helpful in some way.